
Me: I want a black shiplap fireplace.
Him: This house doesn’t have a fireplace.
Me: I said…
Here’s the deal, I hate farmhouse style. DON’T COME FOR ME! I don’t know why, maybe because a decade ago everything wedding related was burlap and lace – but I can’t get down with it anymore… however white and black shiplap is undeniably the most aesthetically pleasing part of modern farmhouse style, and even my haunted mansion vibes (and minimal budget) can not go without shiplap.
As always, if you are a perfectionist – go on and GET! Be gone! This was such a hard project, but I wouldn’t change anything about it!
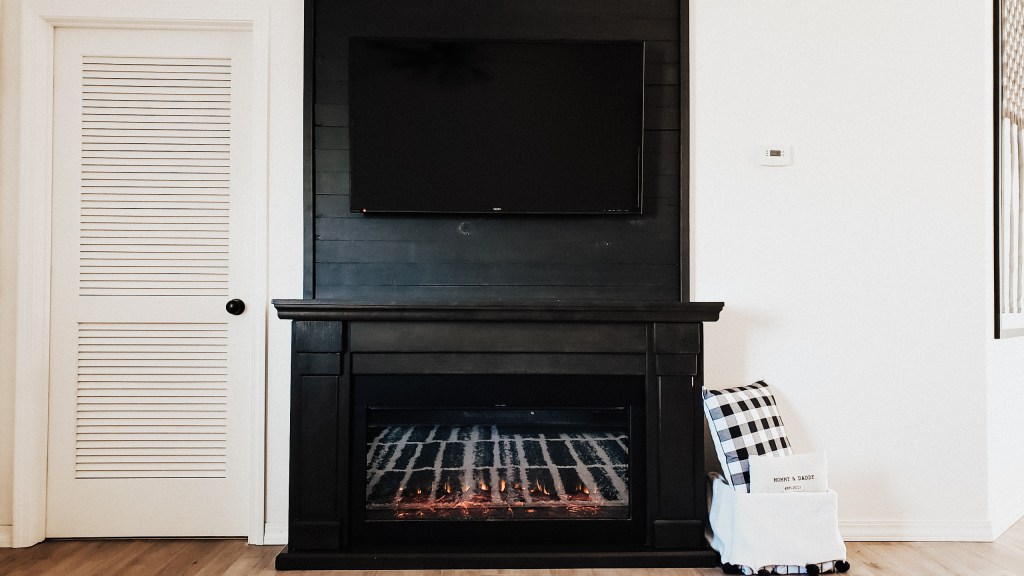
We started our measurements based on our faux fireplace; I call it the Twilight fireplace because it is actually called “Carlisle.”
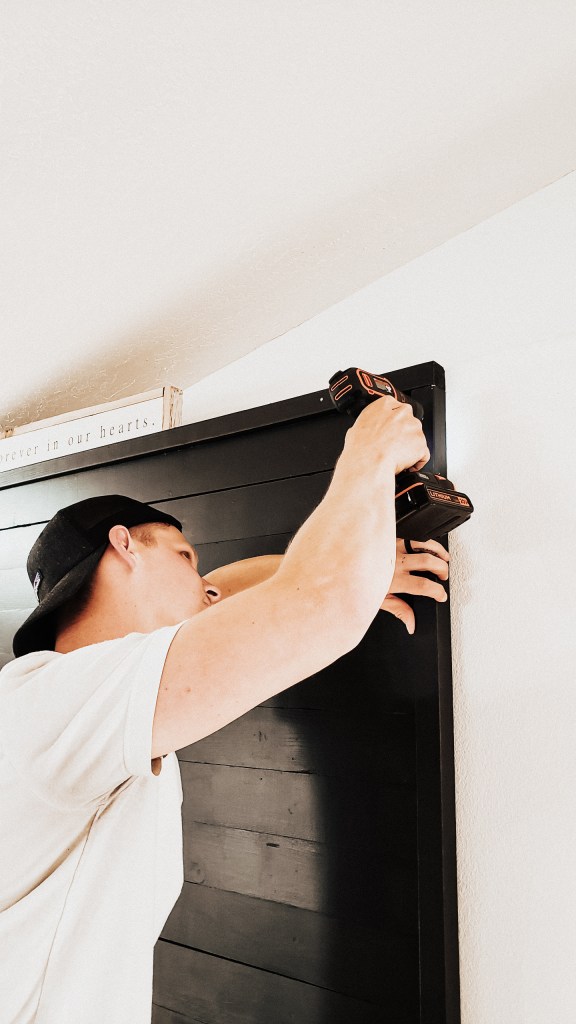
We painted the wall where the shiplap would be so there wouldn’t be white gaps, then started nailing level boards from the top boarder – down. Our framed out boarders pieces are 2 x 2 while our boards doing down are 1 x 4. If you are using the Carlisle, the 1 x 4’s are going to be cut at around 57″. I say “around” because we put them up, to make sure it was flush with the frame – and would shave off some or use another cut. Working with 12 foot boards left us with warps and quarks to adjust to plank by plank.
Starting with the top frame, we would glue the board using construction adhesive (beware, this is not renter friendly!). Before the glue dries, level and nail to secure the board (we hit studs because #fancy). After the horizontal boards were up, we used a steel punch to push the nails into the boards, then wood filler to make the board seamless again. Just make sure to sand down before painting for a smooth surface. After painting black, we added our vertical framing pieces!
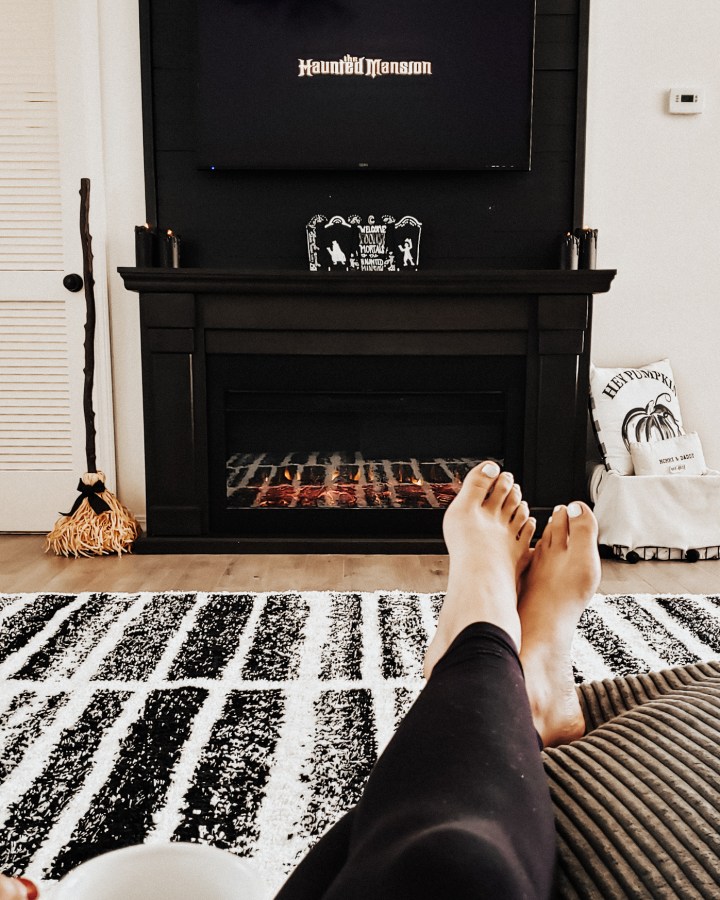
This project was everything I had dreamed about the brutal SIX months of house hunting at our new duty station. We are so excited to be settling into our new bat cave and warming up this fall with our black shiplap Twilight fireplace!